Archive for the ‘Cribbage Boards’ Category
Cribbage Boards
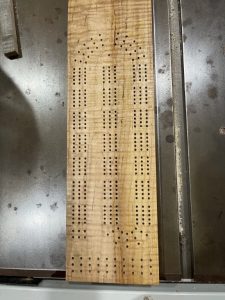
So this was a fun project! I decided a fun way to play with epoxy and do something useful was to make some live edge and epoxy cribbage boards. I ordered the Rockler templates for drilling and got both the large and small 3-track templates. The first thing I wanted to try was using the template. I snagged a small leftover piece of ambrosia stained tiger maple and put the template to work. Below is the result:
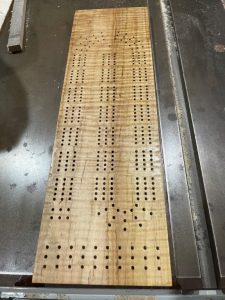
I was happy with the results and was confident the templates would provide a nice clean cribbage layout. On to the epoxy!
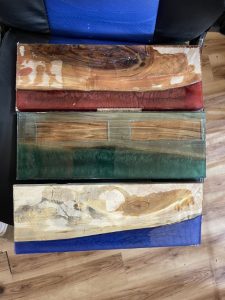
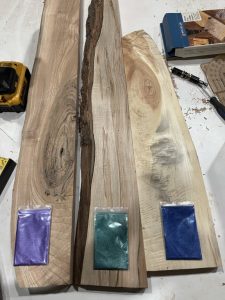
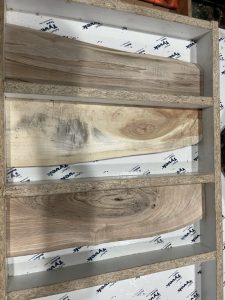
Step 1 was to choose some good live edge pieces for the boards.


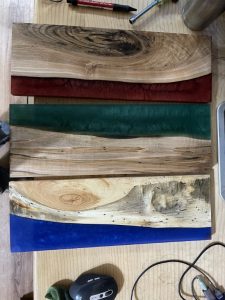
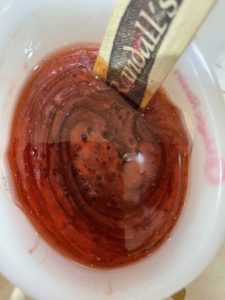
Next was to build a mold for the boards and the epoxy, and to choose the epoxy colours. I built the mold using leftover melamine and then coated the bottom in Tyvek tape. I’m happy to report that release the epoxy from the molds went pretty well. Initially I chose the green, blue and purple. Later on I decided to swap in the red in place of the purple.
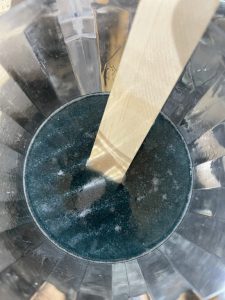
Mixing and pouring the epoxy… A word of warning – your wood *will* float in the epoxy if you don’t hold it down. Since epoxy isn’t cheap, I deliberately calculated the amount of epoxy needed per mold pretty tightly. Too tightly it would appear. I was a little short on the blue and red forcing me to plane those pieces a little more than I had planned.

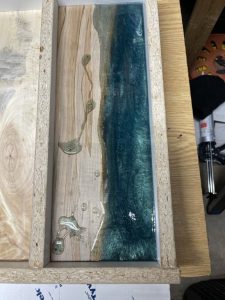


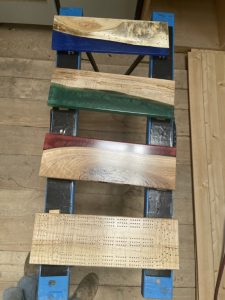
As noted – releasing the boards from the mold didn’t go too badly. The best approach seemed to be wedging a putty knife under them and prying upwards. Below are the boards after they were released from the mold. These are the steps I followed to create a finished board:
- Flatten the boards on one side and one edge using the jointer
- Cut them to the desired width using the table saw
- Plane them on the other face until the wood and epoxy are flush with each other
- Cross cut the boards to the desired length
- Sand the faces through all of the following grits: 60, 80, 100, 120, 150, 180, 240, 320, 400, 600
- Apply edge treatment to the boards (I used a simple roundover)
- Re-sand the faces after messing them up applying edge treatments
- Apply a clearcoat to all sides of the boards. Out of convenience, I went with a water borne polyurethane and applied it using an HVLP sprayer
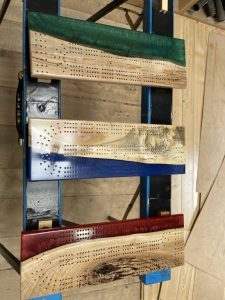
- Use the templates and drill all of the cribbage peg holes
- Look at the results in disgust, re-sand the faces to fix the imperfections the drilling process introduced, and apply another layer of clear coat to finish off the sanding…