Maple & Cherry Table
This is one of the first projects where I kept a more detailed set of pictures throughout the entire process. Going forward, I plan to have the “story” for each project for at least part of the journey from tree to timber to treasure.
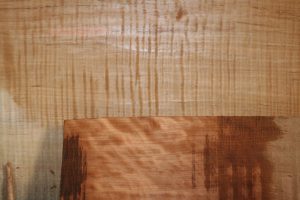
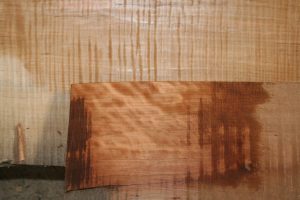
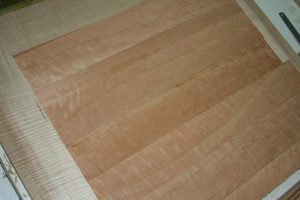
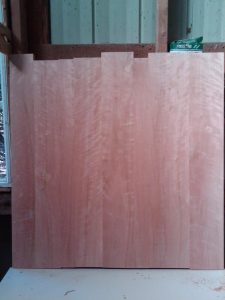
Step 1 was wood selection. By sheer luck – we had milled some tiger maple from the property. The tiger maple also had some ambrosia beetle staining in places and some rose tinting. As such, I decided to pair it up with some black cherry wood which was also milled from the property. Below are the rough cut pieces. I planed a small portion and treated with mineral spirits to see the grain.
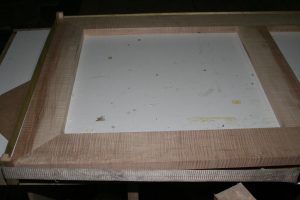
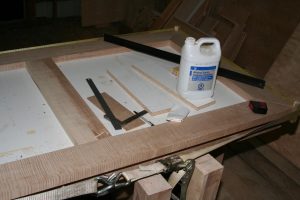
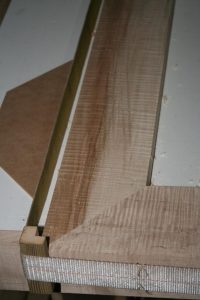
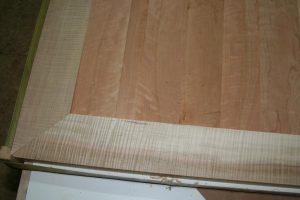
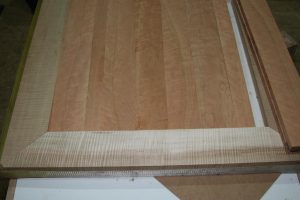
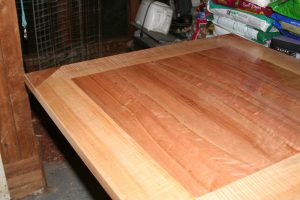
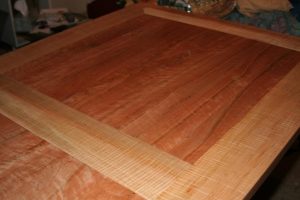
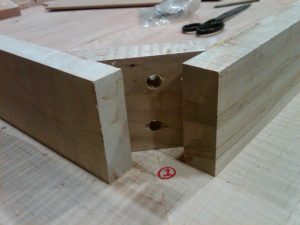
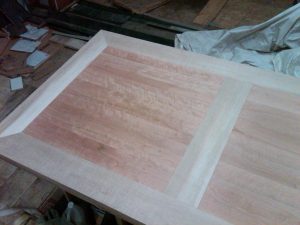
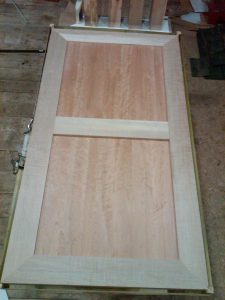
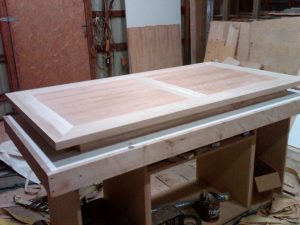
Next I made the basic frame of the table top. I made this out of the tiger maple using 2″ thick pieces. In the pics below I dropped in some loose pieces of the dressed cherry wood to see the overall effect.
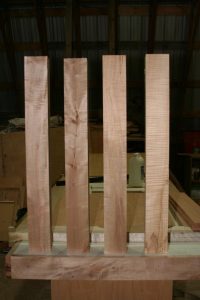
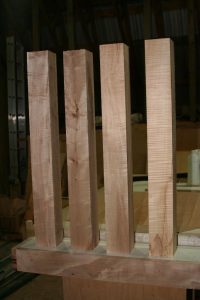
Legs were made next by gluing together a stack of 1x4s using the same maple – from the same tree – to make 4×4 legs. Edge treatment is a simple roundover.
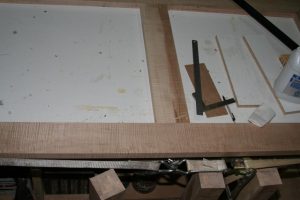
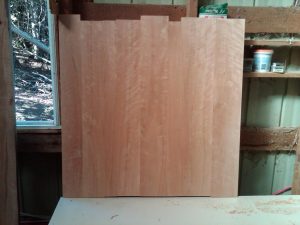
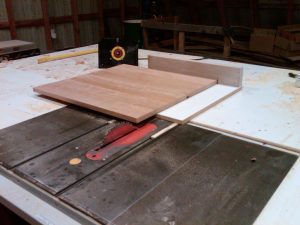
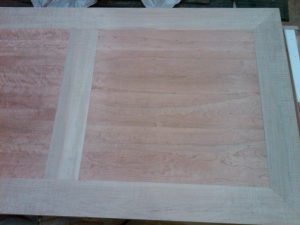
Time to glue up the black cherry center panels, square them up and do a test fit. After the test fit – the panels were glued together with the frame using biscuit joints.
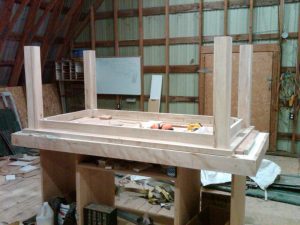
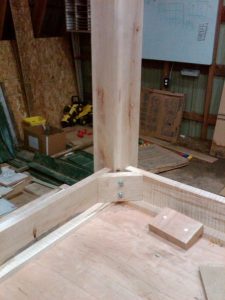
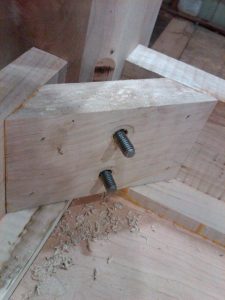
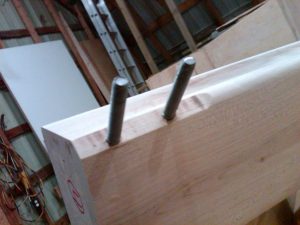
Table skirt, and corner braces…
And attach the legs…
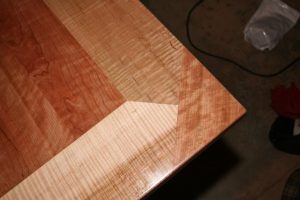
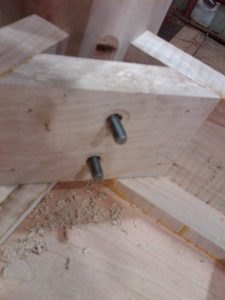
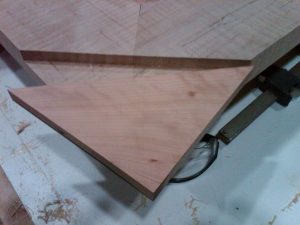
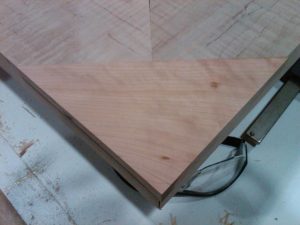
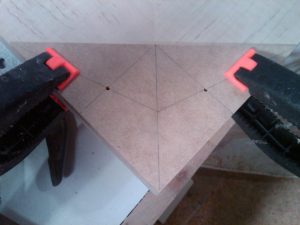
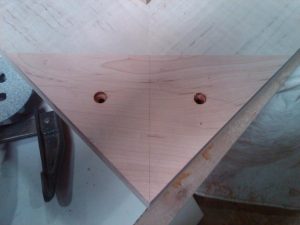
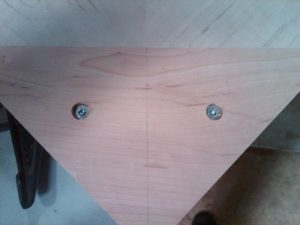
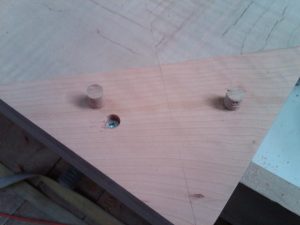
For the top I wanted to dress up the corners a little bit and provide a method to hold the miter joint tight. I opted for making a face key with coutersunk screws and wooden plugs. The face key carries on the alternating cherry \ maple theme. The face key is cherry and the wooden plugs are maple.
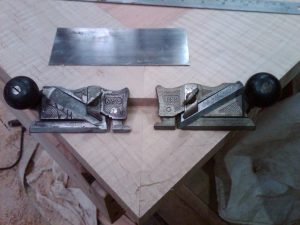
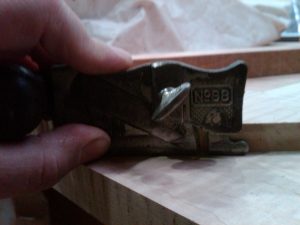
First step was to router out the table top to accept the face keys and clean them up with a couple of dado planes.
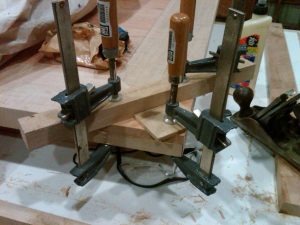
Then the corner pieces were checked for fit before gluing, screwing and plugging.
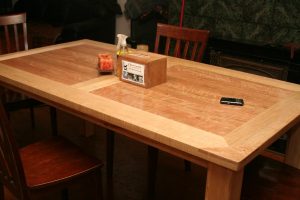
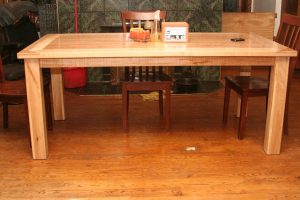
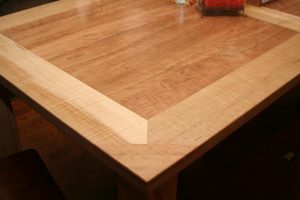
And finally – the finished product. I didn’t want anything to obscure the natural beauty of the tiger maple and cherry and their glorious imperfections. I opted to go with a completely clear finish and used Saman Extreme. I’m quite happy with the finish and would definitely use it again.
